ACCESSIBLE MICROSOFT WORD DOCUMENTS
The screenshots and instructions below are for Office 16 Microsoft Word software. If you are using a different version, your menu(s) may appear differently.
Heading Styles
Titles used within Microsoft Word should be formatted as headings.
1. Select (highlight) the text you want to make a heading.
2. On the Home tab, in the Styles Group, choose the appropriate heading level from the Styles options.

Heading Order
When using the different heading styles, it is important to use them in the correct order. Headings draw a visual persons attention to a specific area. Headings are also a major way of navigation with a screen reader utilized by non-visual individuals.
- Heading 1 is like the title of a book and is the highest level of headings. Usually there is only one per page. Heading 2s are like chapter titles. Heading 3s are sub-sections of those chapters, and so on.
- If you wish, heading styles can be modified to match your own formatting.
- Heading order is also similar to an outline. It is helpful to view the Navigation Pane while applying structure to a word document, so you can see the headings in an outline style format to make sure you haven't skipped a heading level.
- Don't skip heading levels.
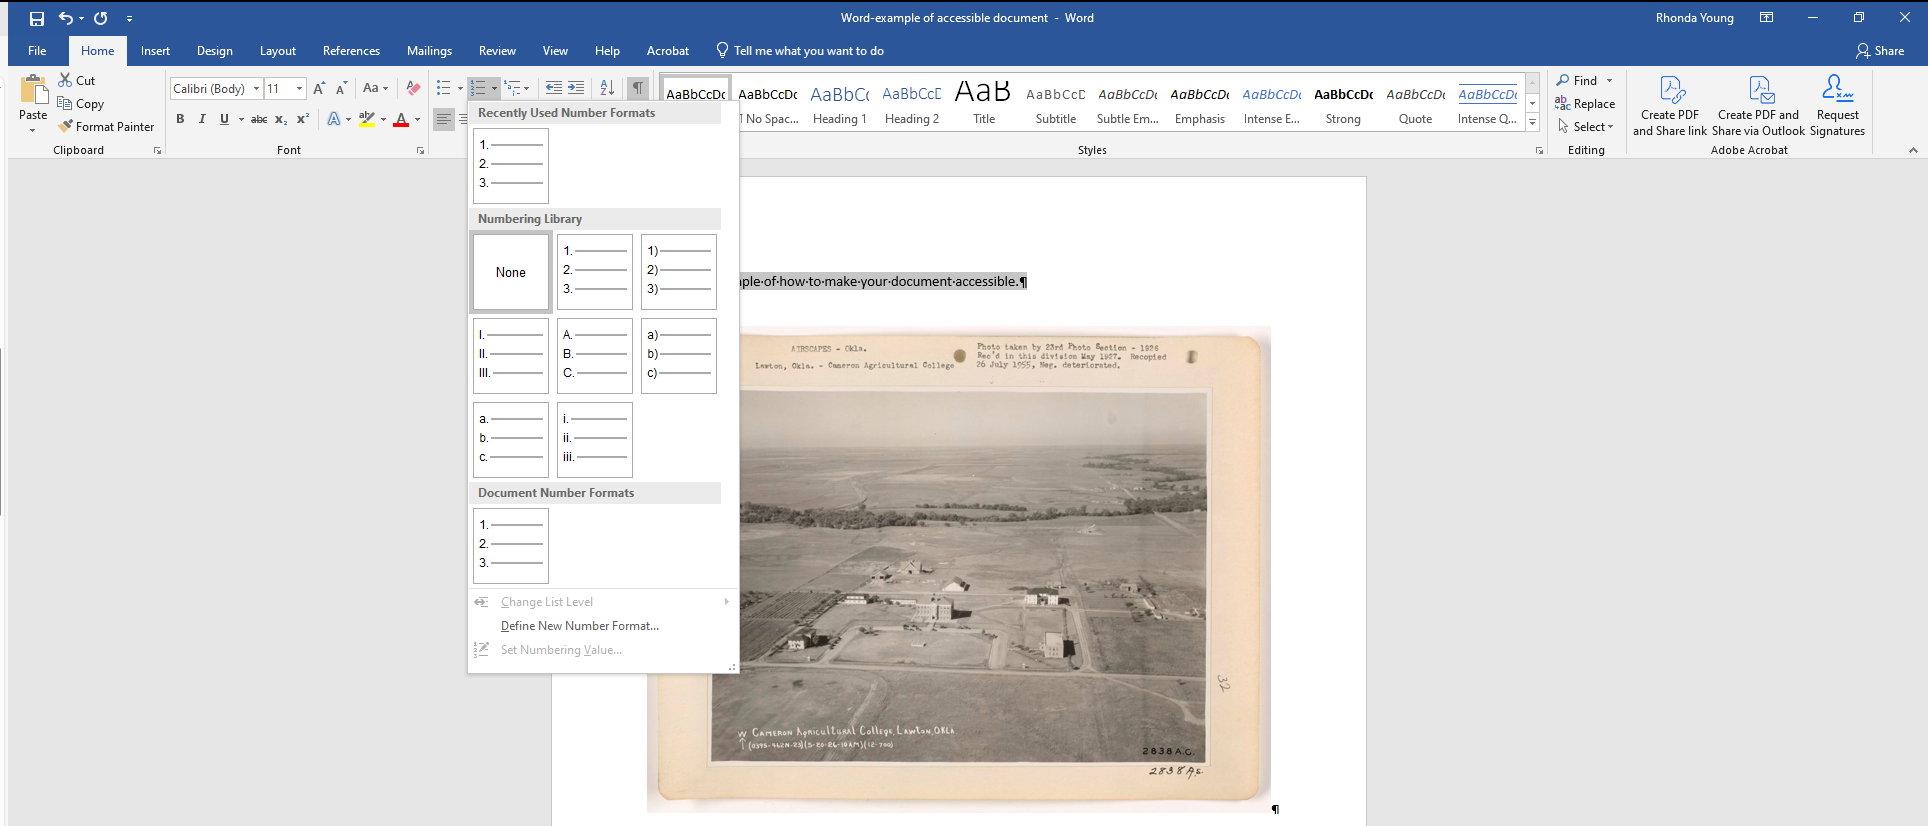
Lists
Page formatting (lists, headings, and links), is read aloud to screen readers, so the content is understood in context. It's important then to properly format lists as lists.
To format a list:
- Select (highlight) the text that you want to make into a list.
- On the Home tab, in the Paragraph group, select the Numbering or Bullets list icon.
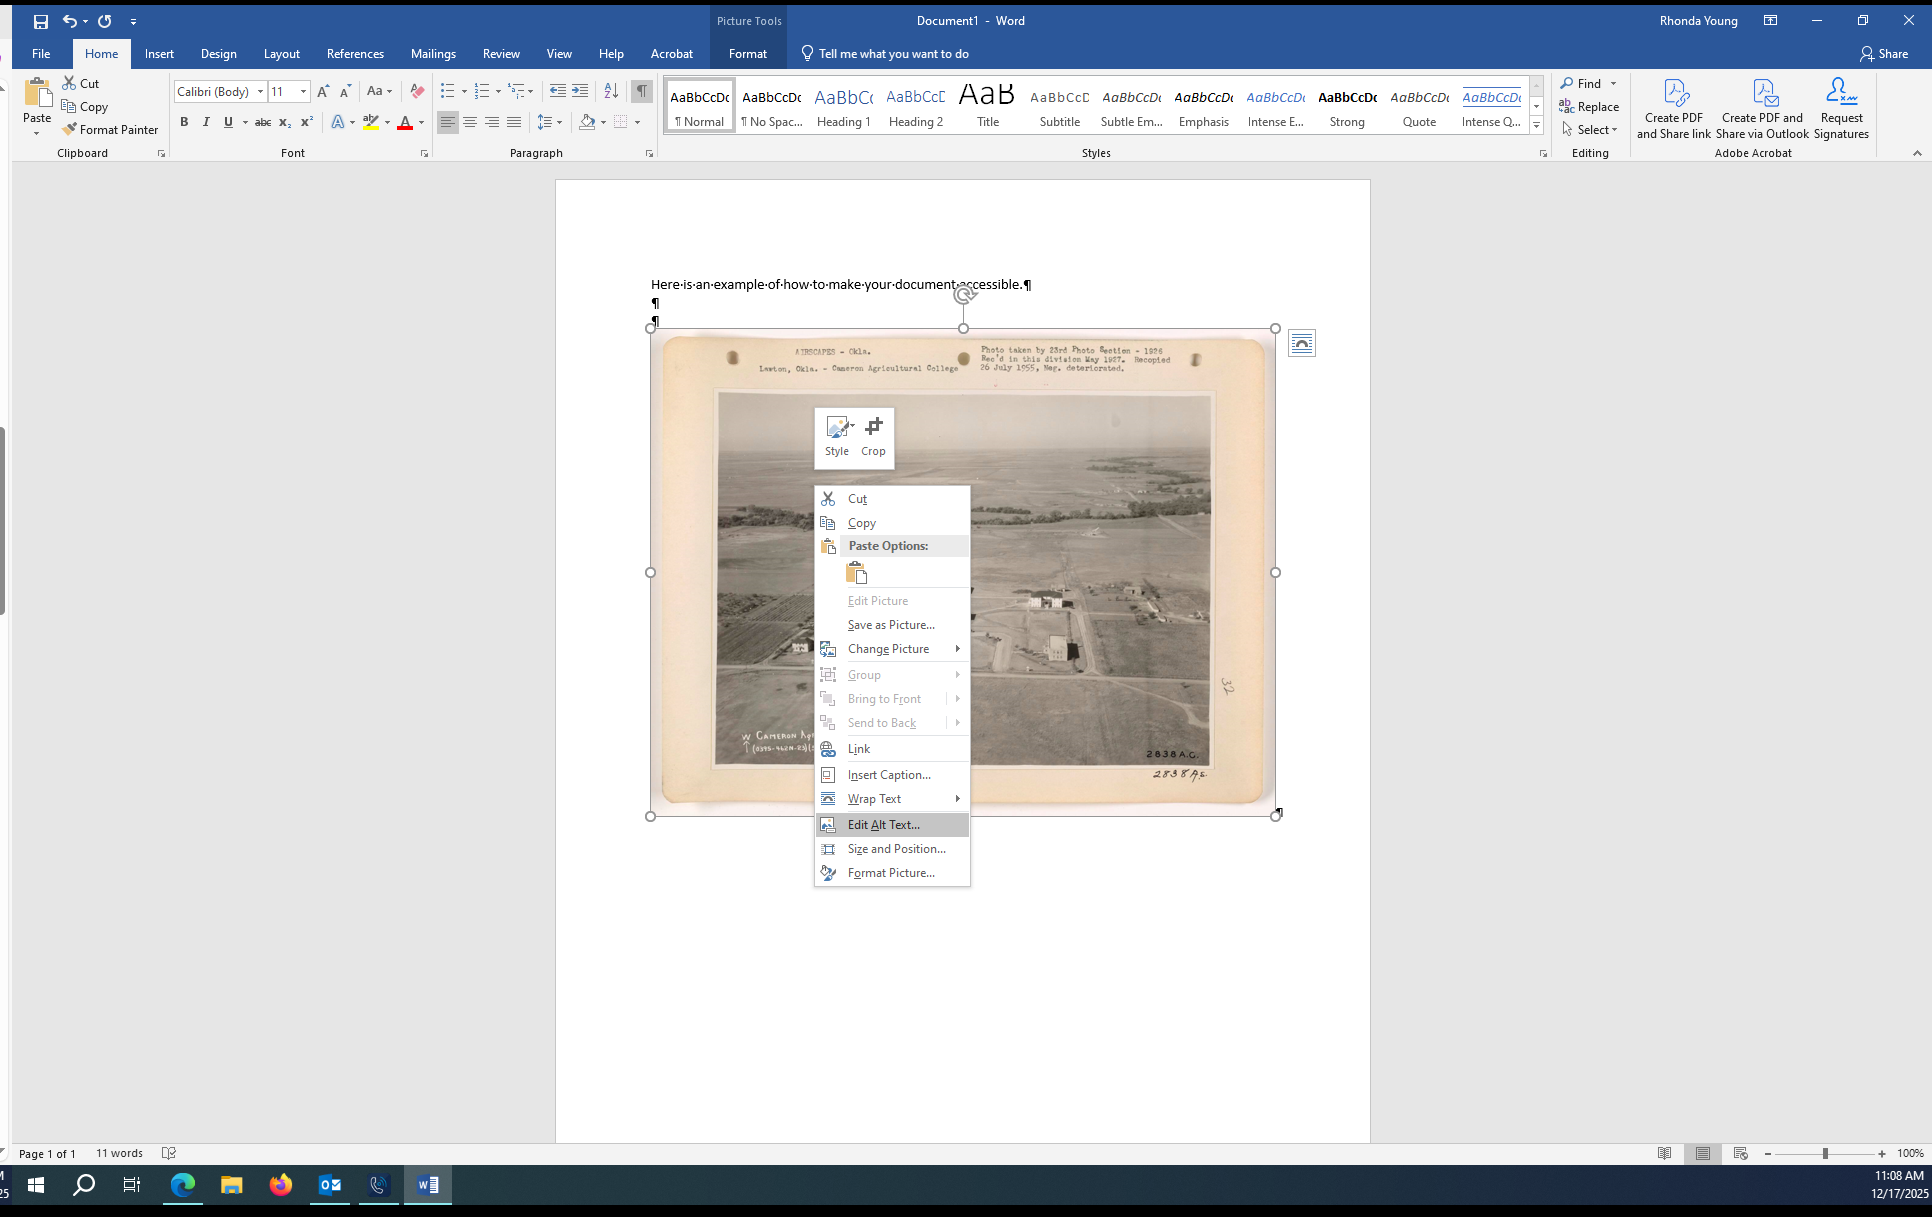
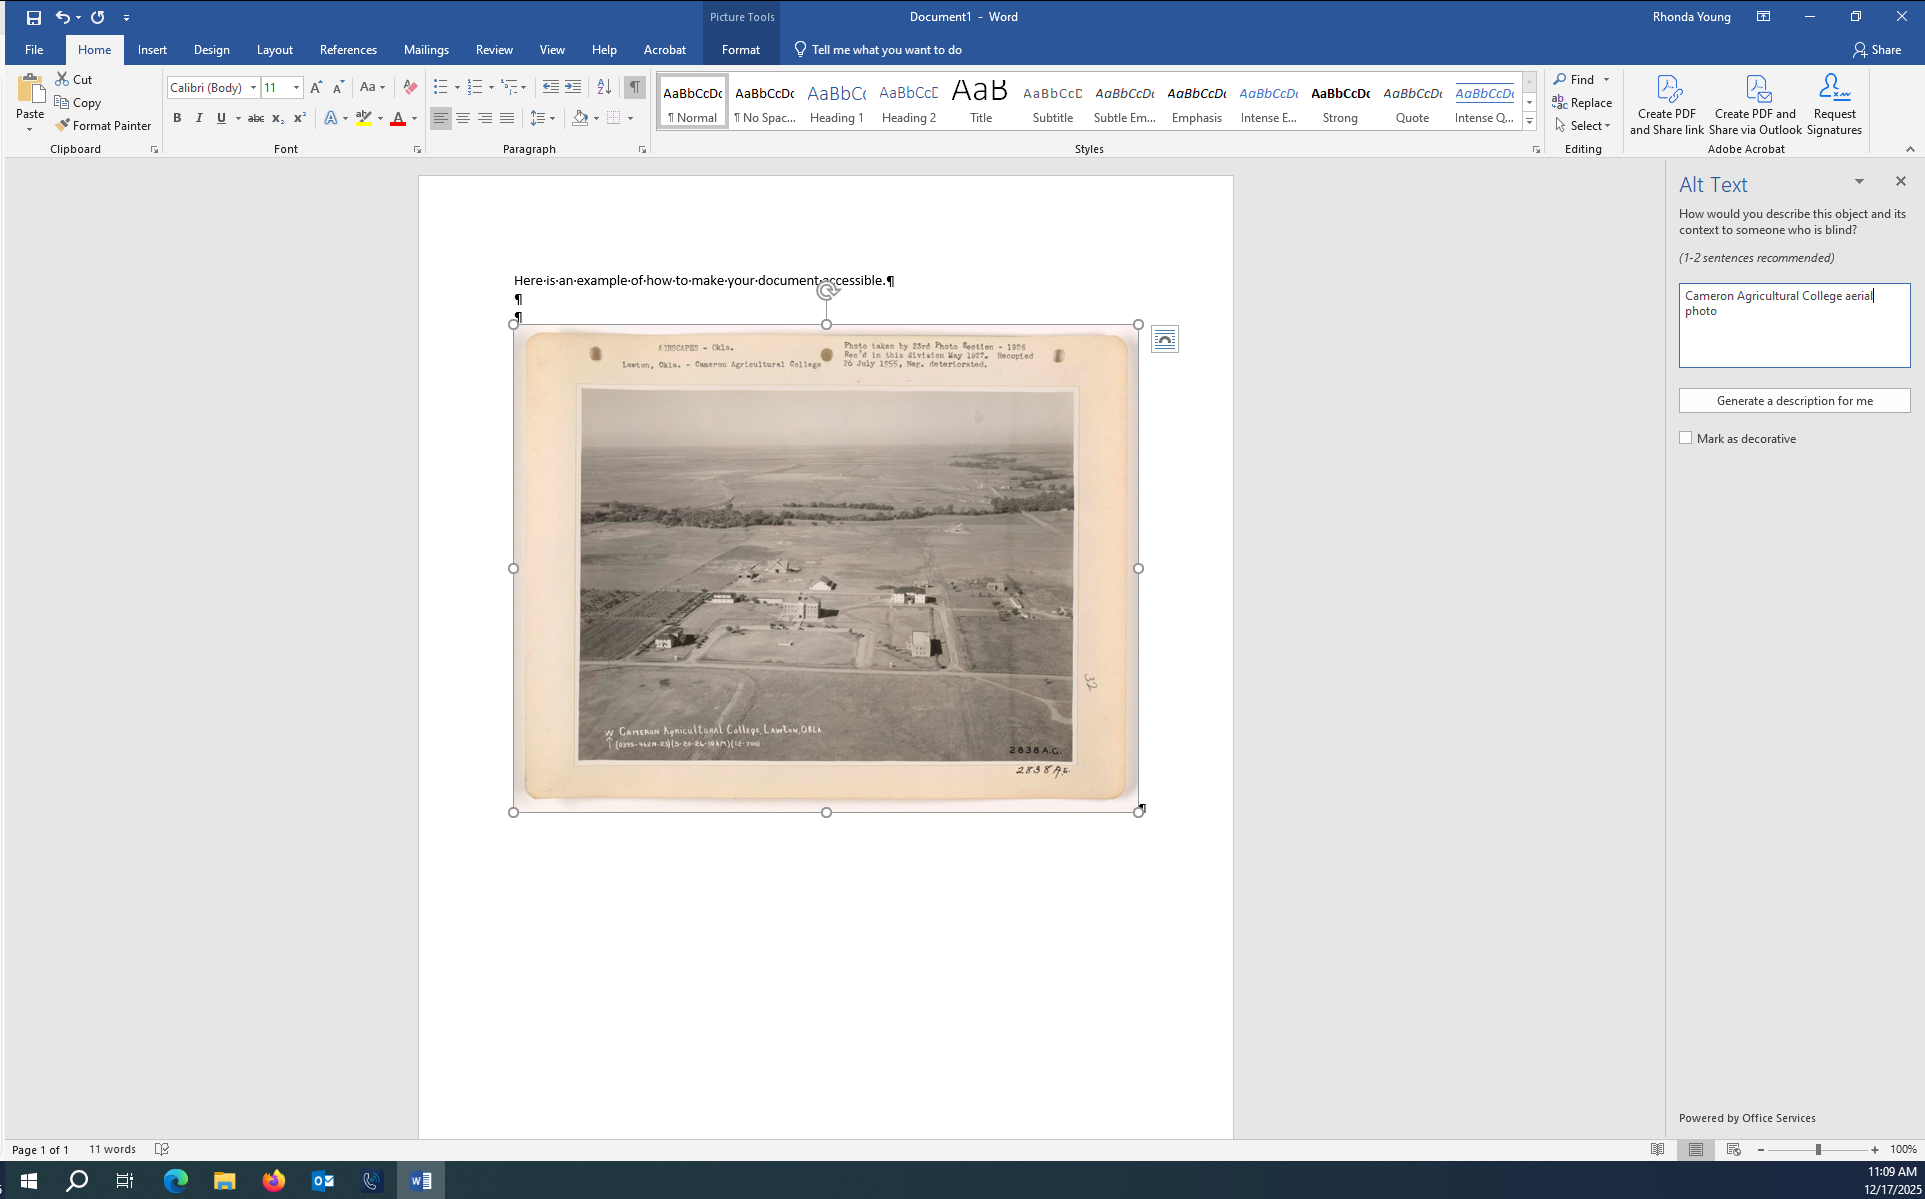
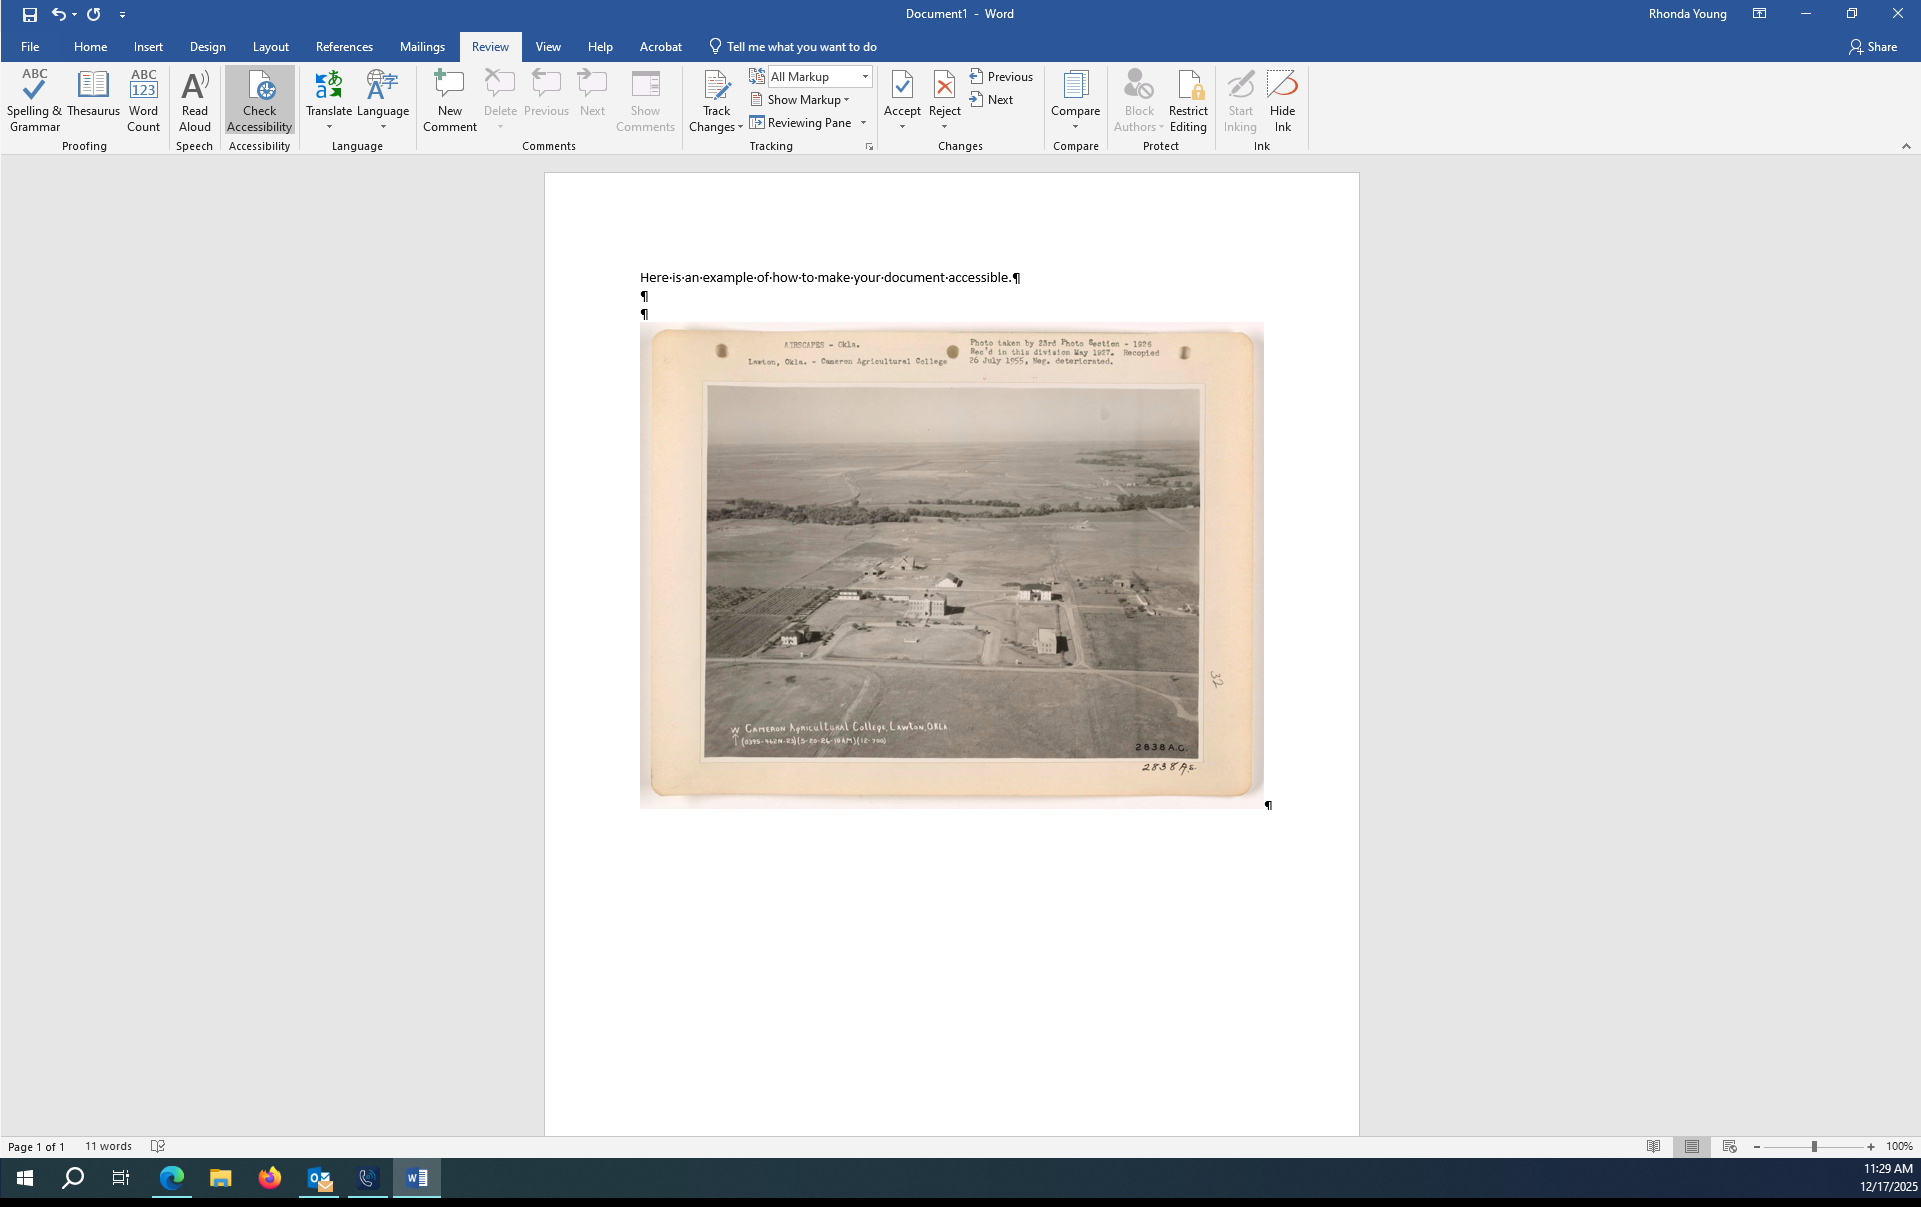
Alternative Text in Word
- Open the Word document.
- Right click on the image/graphic.
- Select "Edit Alt Text."
- Type the alternative text in the Alt Text Box that open on the top right of the screen.
- Click the X to close the Alt Text Box.
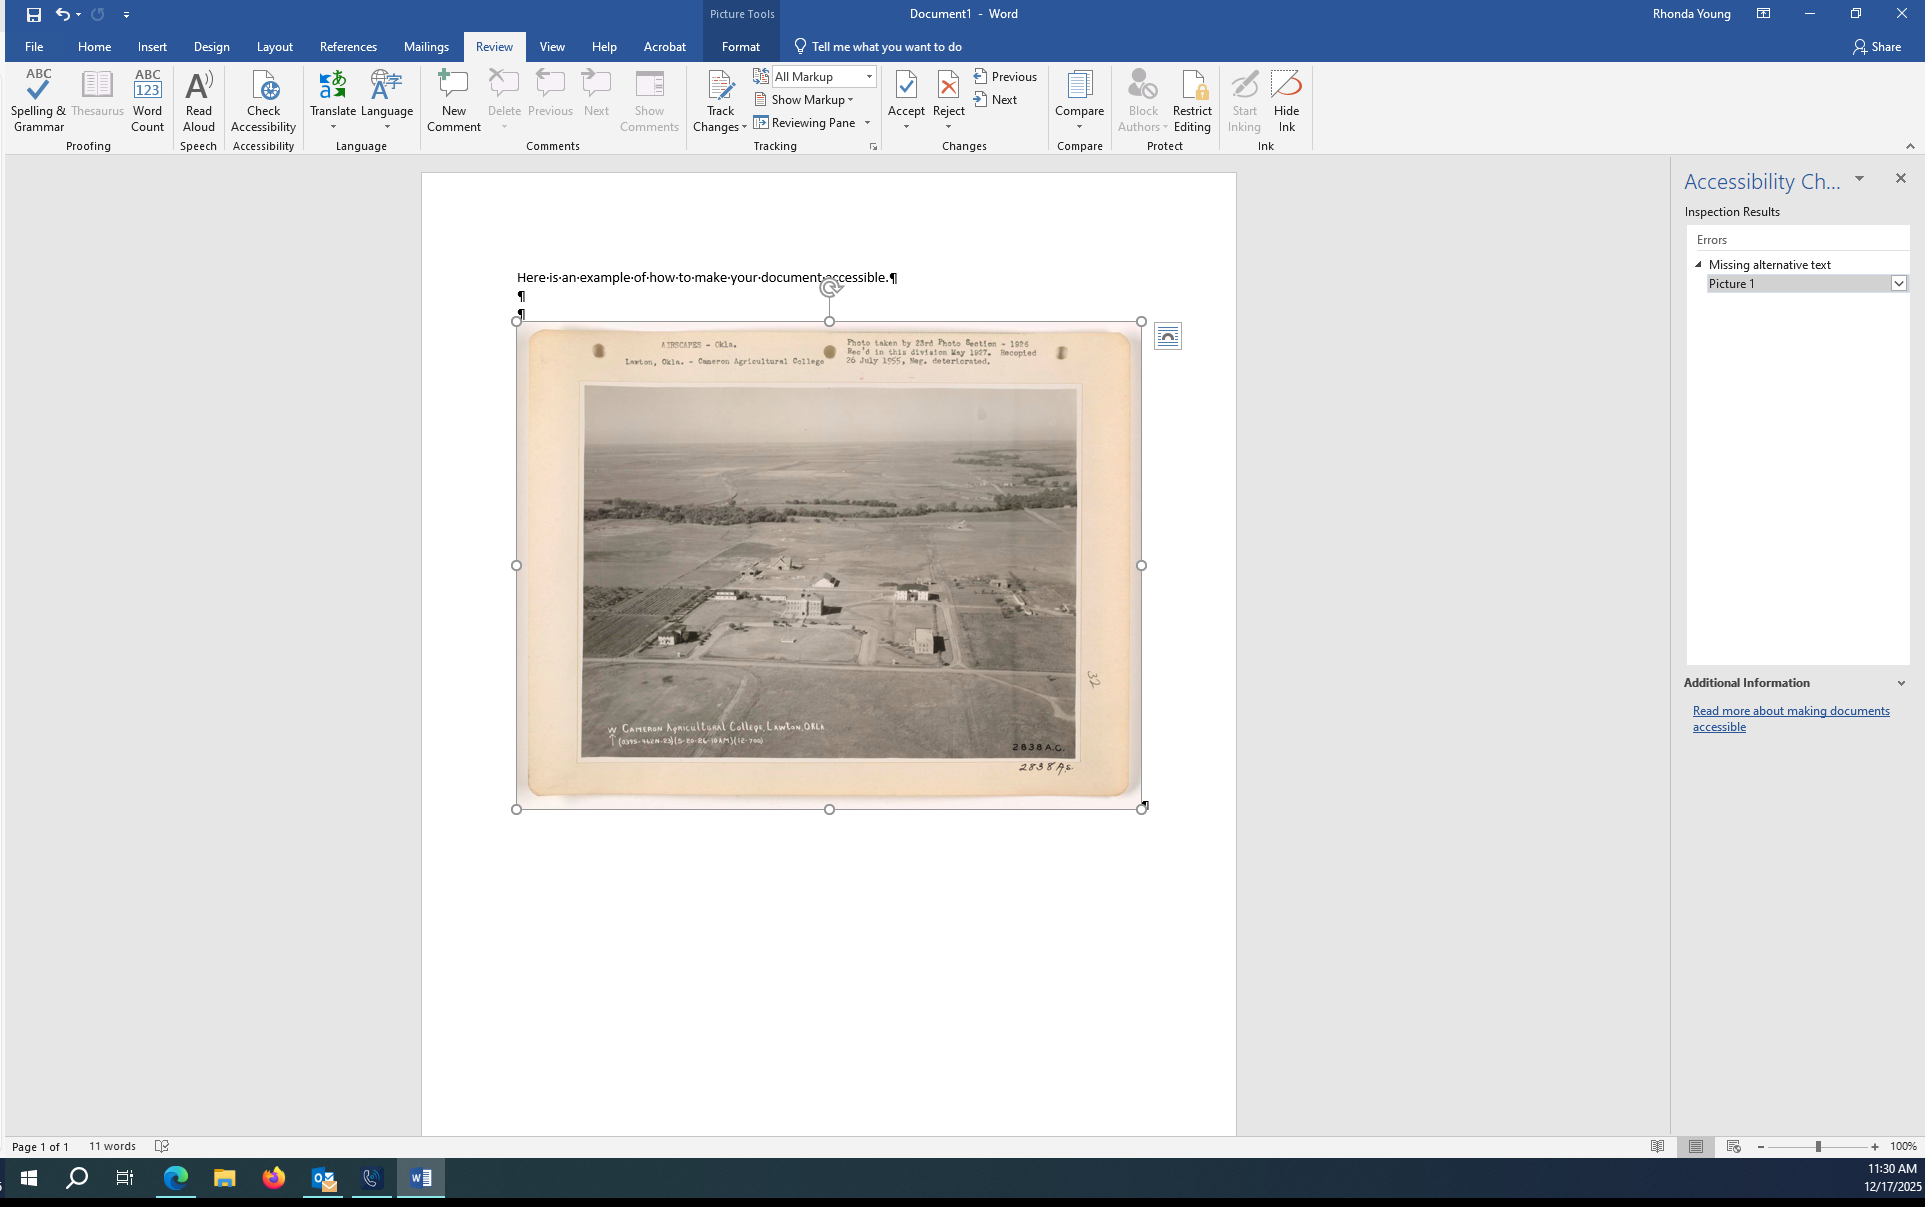
Testing for Accessibility Issues
When creating documents within Microsoft Word, it is extremely important to run an accessibility check before sharing the document or uploading to the website.
- Open the Microsoft Word file.
- Click the Review tab.
- Select "Check Accessibility" from the menu.
- This will open the Accessibility Checker Inspection Results box on the right-hand side of your screen.
- You will either see a green check with "no accessibility issues found" or you will see a list of errors.
- If you place your cursor over one of the errors, you will see a down arrow on the right. Click the arrow to fix the issue.
- Once all errors have been fixed, you will see a green check mark with "no accessibility issues found" and you can then click the X to close the box.


Converting a Word Document to a PDF Document
- Check the final version of your Word document using the Accessibility Checker.
- Click the File tab.
- Select "Save As."
- Select the folder you wish to save the file in.
- In the "Save as type" field, select PDF (*.pdf).